|
The Sound of a Burrick In a Room [Thief: The
Dark Project 20th Anniversary Contest] This is one of the best designed missions ever for
Thief 1. Although perhaps not as universally loved as Skacky’s
2014 masterpiece ‘Endless Rain’, I claim the city’s layout is more
accommodating to the player. I especially like the canal and how many places
you can safely emerge, making the map almost overwhelmingly non-linear.
Lore-wise it’s also a very important step in the path towards The Black
Parade, with several important references to prior noteworthy fan missions. Our
main task was to obtain a prayer book via the burrick
caves below Blexham Manor. Second, we were
commissioned to steal Lord Reynesford’s statuette
collection. Third, we had to locate and procure an antique scepter, though
its whereabouts were unknown. In addition, 2,000 worth of valuables were
required, before making our way back to the starting point. After
playing this mission not long after its release, I watched about 10 minutes
of marbleman’s YouTube let’s play. I didn’t want to
watch more, as I hadn’t ghosted it yet, but during those 10 minutes I learned
something very important. If you avoid triggering Sutter’s cue outside the
Overlord’s Fancy at the start of the mission, none of the thieves around the
city will spawn, greatly easing our passage through the city. The streets were
still packed with regular guards, but this made travel go a lot smoother. To Blexham It
was difficult to figure out the most efficient way around town at first. I
knew I needed the gear from the blacksmith in the north before heading to the
southern part of town, so that was my starting plan. Cleaned
out the grocer’s in the northwest and most of Lydecker
Avenue first. The streets here had patrollers, but no area was without
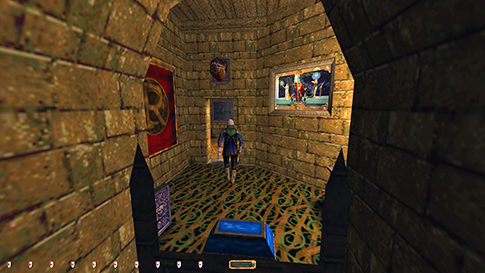
hiding spots. The blacksmith had a vent access to the fishmonger’s (left
image below), but I went back and left from the blacksmith’s afterwards, to
avoid picking open the extra door. Didn’t move further east from this, as the
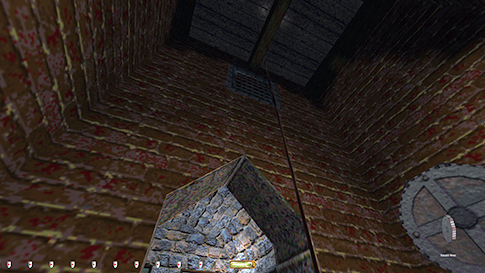
plaza here was quite exposed. Instead I headed back west and ascended a rope
arrow to some hidden loot far above the canal. There was an attic with a very
well hidden silver nugget up there. Dropped directly into the start of the
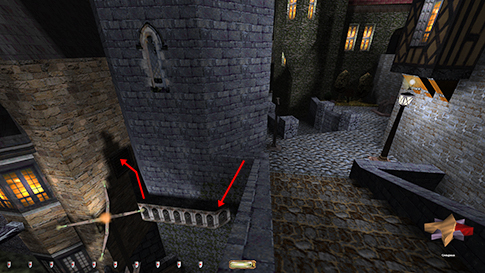
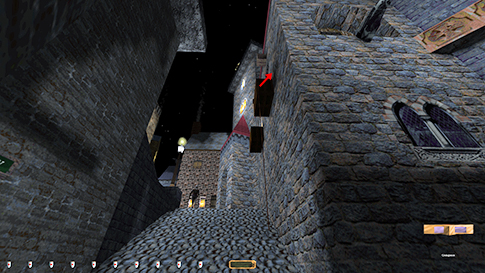
canal and mantled up once a guard here had left. Then accessed the
stonecutter’s via a ledge and a panel close to Lydecker
bridge (right image below).
I’m
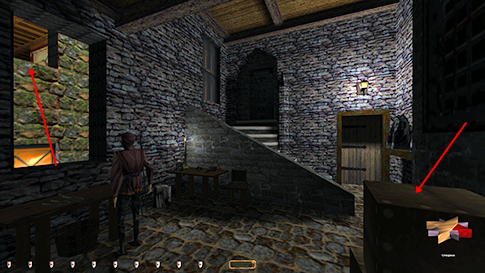
not sure what direction is the easiest to approach the stonecutter, but arriving
from the fireplace vent was quite the challenge (left image below). He had a
very short patrol route, stopping at either table,
facing south or west. The first problem was sneaking out of the vent grate
without making noise. Due to limitations in the engine, Garrett always makes
a clunk sneaking off a ledge after a crawlspace mantle, so I tried to land on
the edge of the boxes and quickly sneak east into the dark corner. It was
possible to do without alerts, but it was annoyingly unpredictable. From here,
I had to jump into the window of the appraiser’s next door (left image
below). The only time to go was when the stonecutter stood by the western
table. I had to wait several cycles for the timing to be convenient, as a
guard in the appraiser’s courtyard would occasionally see me make the leap.
Other times the stonecutter would start patrolling again too quickly and
would spot me in the appraiser’s windowsill before I could get into hiding.
Mantling the table and the first windowsill also had to be done silently and
slowly, otherwise he’d make a settling remark after resuming his patrol. This
scenario was more frustrating than enjoyable. The
appraiser’s building itself wasn’t difficult. The sir patrolled both floors,
but he had gotten stuck in the ceiling (!) downstairs. Luckily, he didn’t see
me do anything so I could roam about freely. Used the front
entrance in order to leave. Lockblocked the door so I could return the key to the top floor. Worked my way southeast from the courtyard without issues.
Passed through the magistrate’s place and arrived on a balcony north of Blexham Manor. There was a necklace on a statue high on
the wall here. I could get it and the rope arrow by dropping onto the edge
below. If landing on an incline, no damage is taken. Approached
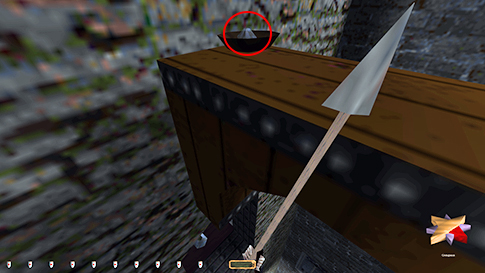
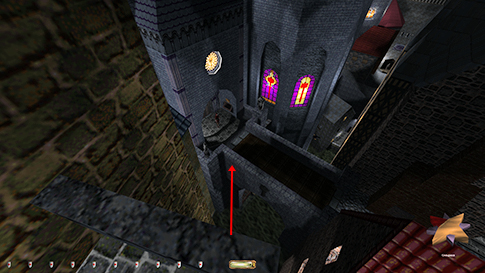
the main manor through a tower just to the south (right image below).
Although
a difficult task, I could cross the pipe east and enter a building closer to
the hammerite church. From there, it was possible
to continue traversing the map southeast. However, that area could easily be
climbed from the streets later on, and right now I wanted to aim at reaching
the burrick tunnels. Surprisingly,
I have nothing to report from Blexham manor.
Patrols were tight and I had to visit most of the rooms to get all the loot,
but many of the hallways were stone and patrol routes fairly long. There were
also plenty of open windows and climbable railings that gave me extra options
for moving around. The biggest problem was comprehending
the manor’s layout. I counted three totally separate winding staircases, and some of the floors were weirdly layered,
almost abstractly so. Regardless, I found my way to the basement where I
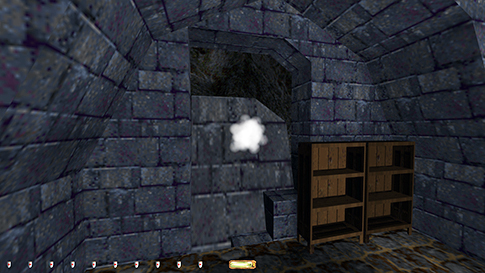
waited for the servant to leave. I had to frob the
back wall three times in order to access the burrick
tunnels (left image below). This has been agreed upon before in the ghost discussion
thread as not being considered
property damage and thus no Ghost bust. Since you are not using equipment and
no visible damage is shown on the piece of wall removed, this event functions
more like opening a door that cannot be reclosed. Readables
elsewhere already talked about the wall’s integrity being compromised due to
the burricks. Frobbing it
indicated all Garrett was doing was pushing on the wall, much like a hidden
panel. If the wall had split up into individual bricks, it would probably
have been a rule violation.
Caves and Beyond The
burrick caves posed no issues. I ascended the steep
climb to the butcher shop first. Had to grab his key in order to relock the
picked door from the meat locker, but I dropped it back and went down the
tunnels again once I’d gotten the loot there. The other part of the caves led
to the tomb below the hammerite church. It had a
bunch of loot and the prayer book, none of which was difficult to get. The
circling haunt in the inner chamber was tricky, but there were shadows from
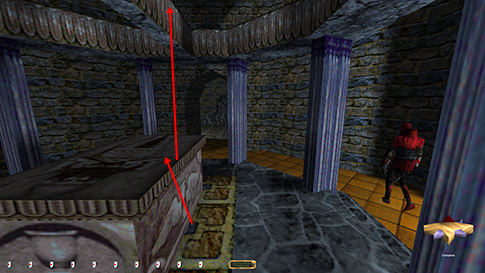
where I could lean in to steal the items. The problem was getting out. I
wanted to climb the ladder up to the chapel, but getting onto the altar
framework proved more difficult than first anticipated. The best place I
found to wait was southeast of the casket (right image above). Here I could
stay concealed of all light sources and watch both haunts patrol. As the
circling haunt turned west, I crept over to the casket’s east side and
mantled up. By now, the haunt was walking south. Before it turned east I had
to mantle the upper railing, but I had to back up to the very edge of the
casket in order to do this. Otherwise I’d just bounce back to the floor. Once
I found the method, it was easily repeatable. Luckily, the chapel entrance
could be closed as I mantled up the ladder. Just
like Blexham Manor, the church overall wasn’t that
difficult. Although there were quite a few patrollers, they all visited
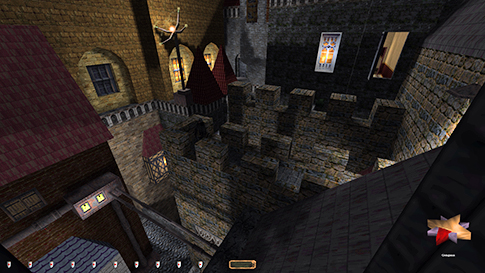
multiple rooms and there were hiding spots in most locations. I jumped from
the walkway on the top floor to father Quentyn’s
courtyard (left image below). That way I didn’t have to pick the door to his
chambers. Found two of the hidden magpie treasures on the church roofs.
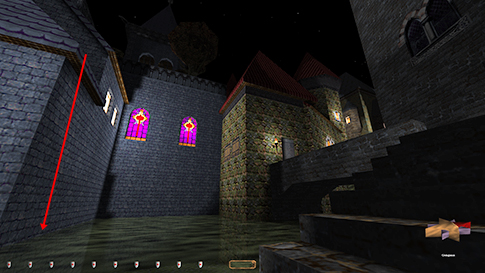
Dropped into the canal to the east and ascended the staircase on Bulwark
Street (right image below). The current was strong, but I could just manage
to avoid its pull.
Reynesford & Chancey The
Bulwark and Lydecker crossroads was definitely the
most trafficated spot in the mission. I counted 6-7
patrollers that ventured through or in view of this area. I managed to grab
both purses from the swordsmen here, but not without applying some patience.
I used the top floor balcony to enter Reynesford’s.
Both lower floors had access doors but they were unnecessary to pick open. A
conversation triggered two patrolling guards. One headed downstairs and
activated a servant who had spawned in the foyer. The guard ended up
patrolling the entire mansion vertically, while the servant went up to clean
up the bodies and making loops on this floor. At this point I got the loot
downstairs and headed all the way up to Reynesford’s
chamber. His
quarter was the most difficult place in the building, but his patrol was
predictable and there were safe spots. The doorway was dark enough to conceal
me from both him and the guard who came all the way up here. I snuck into his
bedroom behind his back (left image below). Here I could pick open the chest
and get one of the documents. Went back out to the dark
doorway as he was staring at his safe. The next time he went to the
bedroom, I could pick it open and grab the contents. Nothing
to it. Dropped back to the street level by the main entrance once the
archer there had wandered off.
Moved
south and cleaned the sommelier’s place with no trouble. Dropped
into the canal next so I could enter Chancey &
Co. via the grate above the beams. I anticipated the warehouse to be
quite difficult, but it didn’t prove to be. Only two patrollers,
and the worker spent some time out of view in the office. I left the old gear
on the floor below the machinery. If it hadn’t been a junk item I would’ve
brought it along. Perhaps I should’ve dropped it in the canal or something.
Nobody alerted to the vault remaining wide open, which definitely broke
immersion some. No matter. Going Home Snuck
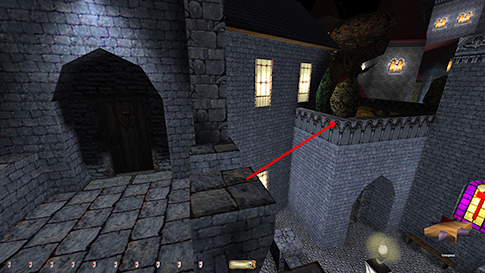
west on Church Way next. Didn’t pick open Jeremy’s door as
there was a different way in. I instead climbed up a planter box atop
the hill (right image above). This took me to some ledges that led to
Jeremy’s chimney. Outside his window I found the third and last magpie
treasure (left image below). Returned up the chimney and
all the way to Duke Leonard’s balcony. Crazy scene
up there. Luckily the drunks didn’t react to me. Further
north I made an insane jump northeast across the canal, mantling up the
church bridge (right image above). That was just to avoid backtracking and
dodging all the patrollers in the streets. I had to drop the two documents in
the donation box for the extra objective. I still had to sneak back across
the bridge, but at least this was just one way.
After
this, all I had to do was loot Rowe Street, including the bailiff’s estate
and surrounding buildings. I didn’t take the bailiff’s key from the
patrolling guard’s belt, as there was another copy inside. Remembered
to take the coins in the Rowe Street underpass as well. From there I
snuck back to the beginning and ended the mission. Statistics: Time: 2:09:16 Loot: 4553 out of 4553 Pickpockets: 6 out of 11 Locks Picked: 14 Damage Dealt: 0 Damage Taken: 0 Consumables: None Ghost: Success! Perfect Thief: Success! Supreme Ghost: Success! Perfect Supreme Ghost: Success! |
|
|
