|
Ruins of Originia - Mission 4: Ashes to Ashes This
mission takes us back to the style of the first two. Set in a deep,
underground, ancient museum, YcatX’s creative power
yet again becomes evident. The museum itself is harmless, but the exhibits
are not. Gameplay wise, this might be the most difficult mission in the
campaign. Though the quality still doesn’t reach the heights of Mines of Margroth, this is still a campaign every Thief fan should
play. I
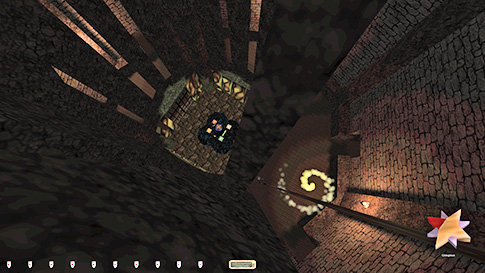
had to find my way into the Museum of the Ancients at the bottom of a
volcanic crater. There I had to obtain 7,500 worth of valuables, then escape.
Once I entered the museum, however, I got additional tasks to find four
gemstones, the crown jewels, and the corpse of the first builder. I also had
to visit every exhibit in the museum. This last objective would be the ghost
killer, as several of the exhibits required busts. Museum Dodged
the shadow beasts easily getting to the museum. Went for the clear mystic
stone right away. The invisible key was a light source. I returned the key
afterwards, but strictly speaking this is a bust, although I didn’t use to
avoid being seen. You can avoid this bust by instead returning to the power
cells exhibit each time you need a second stone of a specific color. Since I
knew the mission couldn’t even be regular ghosted, I wanted to avoid this
tediousness. In
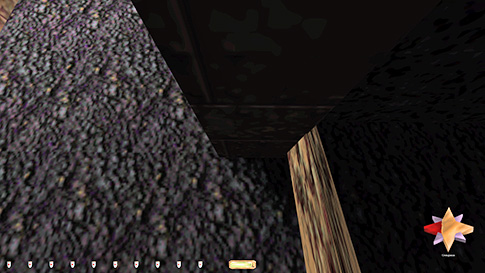
the Mines of Montserrat, I encountered a small problem. One part of the mines
was boarded up, and there was a gold nugget on the other side. The northern
entrance had only two boards, with quite a large gap between them. It was
pretty easy to figure out a predictable method to get through. Stand in the
eastern end facing the wall (left image below). Crouch, then quickly lean
right and jump, while letting go of crouch. I bounced through to the other
side and ended up almost at the southern wall (right image below). Going back
I could use the same method. The nugget had to be taken by sneaking over to
it. The level below had more shadow beasts and they could hear any step on
the gravel.
The
Rainbow Rose exhibit loot and bonus objective were skipped entirely. The
piranhas and crayman saw me both approach and enter
the water. No chance. In
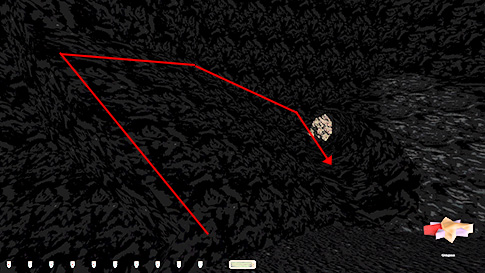
the Royal Tomb exhibit, a much bigger problem arose. There was a floating eye
(a beholder?) protecting the exit area of the exhibit. It saw me even in pure
darkness, forcing me to use hardcover. It always spotted me heading for the
exit teleporter. Luckily, I found I could use a
speed potion and rush to the exit and only trigger a first alert. To double
check this, I quickly reentered the exhibit and saw that the eye hadn’t moved
location, so I knew it hadn’t second alerted. Using the potion and getting a
first alert were both against Supreme rules, but I was fine with that. I even
managed to grab the trickster statue before teleporting out of there. I had
to skip 525 loot in total in this exhibit.
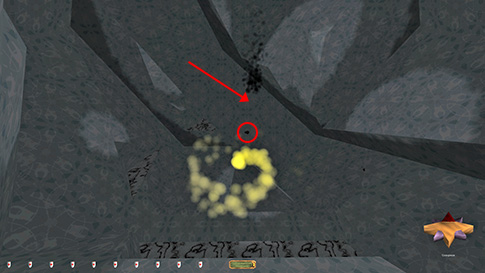
The
Loknara exhibit brought the first inevitable Ghost
busts. Two spiders alerted immediately upon spawning, there was not even a
fraction of a delay (right image above). I could jump, grab the loot and
teleport out of there within a good second, but if I went back in, the
spiders had moved. The
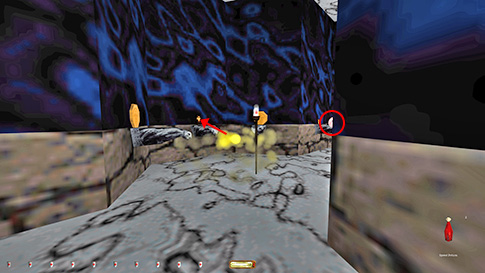
Crown Jewels exhibit annoyed me a bit. The cage with the loot was enclosed by
an unfrobbable gate. I was supposed to blow it open
with one of the explosive charges from the mines, but this of course was
property damage and another severe Ghost bust. I desperately tried to climb
over the cage pillars. With some potions I could get onto a rope fastened in
the ceiling. I even managed to hop into the top corner of the cage, but
couldn’t for the life of me get inside (left image below). The slope was too
steep to move up and I got stuck pretty much immediately. I’m not sure how I
would’ve survived the fall had I made it through, or how I was supposed to
get out of there, but it would’ve been fun to at least obtain the loot without
a bust. I managed to avoid alerting the guards by throwing a flare at the
charge (right image below). Many of them muttered some comments, but that was
more than acceptable. The use of a flare like this is a new trick discovered
by Galaer during the Gilded Rivalry run. It’s
excellent because it doesn’t make any sound.
In
the Izu exhibit was another one of those eye of the
beholders. This room didn’t have anything else of value, I just had to visit
it in order to meet the objective of triggering all exhibits. The way to
avoid a bust was to do a forward strafe-run immediately upon entering. I
checked by entering a second time and saw the eye hadn’t moved its angle.
Whether I got a first alert or not I couldn’t tell. I didn’t hear anything
before teleporting out of there. The
DarkOne exhibit had another invisible monster. I
could tell its location by the smoke off the top. Three of the four nuggets
were possible to take, but I could not reach the one right by its feet
without setting it off (left image below). It almost seemed as if it had a
proximity trigger, because at a certain distance it went straight to wake-up
mode, which is a second alert. Another 75 skipped. Got a first alert as I
entered the teleporter to leave. The
last difficult exhibit was the First Temple. There were 5 pickpockets around
the temple, those were easy enough to take. Then there was a diamond on the
back wall. This was a light source, but I had to take it for Supreme. I had
already skipped 1600 for that mode, which left only 107 to spare to reach the
loot goal of 7,500. The diamond was worth 200, so it was a required pickup.
In the top floor shrine was another piece of loot, a staff worth 100. I was
not able to get it without first alerts from the surrounding patrollers, so
this one I skipped for Supreme. The four patrollers on the second to last
floor were all running, and they were spaced out enough to cover the lit up
front entrance every 4-5 seconds. There was no way for me to grab it and get
back to shadows without one of them or somebody on the lower levels spotting
me. There was simply too many enemies around here for that to be possible.
The back of the temple had to be hit with a sword or like force in order to
open it. It opened like a secret door, but felt more like a puzzle. However,
since force was applied, I counted this as property damage and another Ghost
bust. However, using a sword or arrow alerted multiple enemies to hunt mode.
However, I found I could use another explosive charge and a flare to
circumvent those alerts, just like in the Crown Jewels exhibit. I got some
first alerts from the fireballs, but those were only Supreme busts.
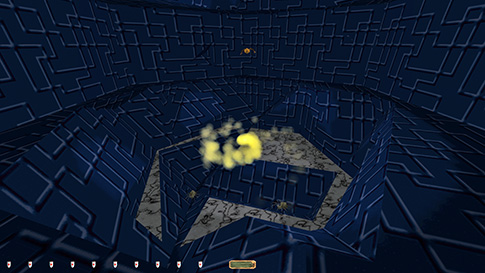
Inside
the temple came a much bigger problem. A huge arrow trap area lay before me
(right image above). The pressure plates could not be touched at all, or else
the arrows came flying, and several of the outside enemies went to full alarm
mode. Not only that, but they always came searching down the staircase
leading to this chamber. I hadn’t taken second alerts from anyone besides
spiders so far, so I desperately wanted to avoid these busts. I had a speed
potion left, but this wasn’t enough to get me across. Even with a full-speed
angled jump, I hit the back half of the final plate. Although speed potions
boost your velocity, they do not
increase your height. But slow-fall potions do! They reduce your
gravitational pull, which makes you jump considerably higher. The problem is,
once the slow-fall potion takes effect, your velocity is back to normal.
After quite a bit of experimentation, I found a solution. If I drank a
slow-fall potion at the same time as jumping (already having downed a speed
potion) the slow-fall would take effect as I rose in the air, while still
keeping the increased speed. This took me across all the pressure plates with
no trap triggered! The next issue was I had to get back again before the
speed potion lost its effect. Luckily, the slow-fall didn’t last as long, so
I regained my boosted speed for a few seconds a bit later. In the meantime I
had to super quickly grab the corpse and all the loot, then pull out my
second slow-fall potion and do the same maneuver back. It took a couple of
tries, but this was awesome to get out of with no further busts. Of course,
drinking the three potions are against Supreme rules, but that was
practically irrelevant at this point. Leaving On
my way back to the crater, a new shadow beast had spawned close to the exit
tunnel. I could approach it from behind on the left unnoticed, but I couldn’t
sneak over to the tunnel. Instead I had to climb up the slanted wall to the
left and hug the top corners (left image below). Then I could approach the
tunnel from above. If I dropped quietly, I could do it without any growl. I
had to land as far northeast as possible to accomplish this. Around
the volcano all the shadow beasts were patrolling counterclockwise, so it was
easy to just go right and enter the newly opened tunnel. I destroyed the book
at the bottom level, but had to run out of the way quickly, otherwise I’d get
killed (right image below). Up top again I continued walking counterclockwise
until I could ascend to the vine. Then climbed all the way up top without
issues.
I’d
really like to thank YcatX for this mission pack.
It is the most unique creation I’ve ever played for Thief. Too bad none of
the other 9 missions were finished. Mines of Margroth
still lands in the top 10 of all time for me. The rest of the campaign is
good too, especially missions 2 and 4, but don’t quite reach the level of the
first one. Statistics: Time: 1:07:53 Loot: 7,607 out of 9,207 (Supreme: 7,507) Pickpockets: 5 out of 23 Secrets: None Locks Picked: None Back Stabs: 0 Knock Outs: 0 Damage Dealt: 0 Damage Taken: 0 Innocents Killed: 0 Others Killed: 0 Consumables: 2 Speed Potions, 2 Explosive Charges,
2 Flares, 2 Slow-fall Potions Ghost: Failed! Perfect Thief: Failed! Supreme Thief: Failed! Perfect Supreme Thief: Failed! Notes: -
Bought two
flares, two slow-fall potions and two speed potions from the loadout screen. Supreme busts. -
Taking the
invisible key to obtain the clear mystic stone in a Supreme bust, since the key
emits light. This can be avoided if you instead return to the power cells
exhibit and pick up colored stones multiple times. -
Had to skip
1,000 worth of loot in the Rainbow Rose exhibit. The fish spotted me as I
approached the flooded part of the grotto. -
Had to skip 525
worth of loot in the Royal Tomb exhibit. I also had to use a speed potion and
get a first alert from the beholder in order to leave this exhibit, both of
which are Supreme busts. -
Alerted two
spiders to full alarm in the Loknara exhibit upon
entering. Unavoidable Ghost busts. -
Blew open the
gate in the Crown Jewels exhibit with an explosive charge. This was property
damage and Ghost bust. I also got a bunch of first alerts in the process,
meaning more Supreme busts. -
I might have
gotten a first alert in the Izu exhibit. I
teleported out of the room before I heard anything. Possible Supreme bust. -
Skipped one of
the nuggets worth 75 in the DarkOne exhibit. It was
too close to the shadow monster to obtain. -
Got a first
alert from the shadow monster in the DarkOne
exhibit when exiting. Could possibly be avoided, if lucky. -
The diamond on
the back of the First Temple was a light source, but I had to take it to meet
the loot goal. Supreme bust. -
Skipped the
staff worth 100 on the top floor of the First Temple for Supreme. I was not
able to obtain it without at least a few first alerts. -
Had to blow
open the secret entrance to the First Temple with an explosive charge and a
flare. I considered this property damage and thus another Ghost bust. I also
got a few first alerts in the process, so more Supreme busts from that. -
Had to use a
speed potion and 2 slow-fall potions inside the First Temple in order to
avoid springing the trap and alerting the outside guards. Supreme busts. |
|
|