|
BROKEN TRIAD - Part 1: Arkford I had been looking forward
to this one for a long time. The sequel to perhaps the best single-mission release
ever, Ominous Bequest. And a two-mission sequel to boot! If they were
anywhere near the quality of the orginial, I was in for a treat. I was in Arkford to steal
a museum item called ‘the Sleeper’. Even if ugly, it was gonna bring me some
dough. Looks don’t matter they say, it’s what’s inside that counts.
Apparently the museum’s security system was tougher than usual, so I had a
replica made to exchange for the original. In short, I needed to pick up
whatever keys from Sheila Jennings, swap the sculpture and head back home. An
additional objective was to “...reactivate the security measures around the
sculpture exactly as [I] found them”. Supreme rule #8 says: “No turning off
of watchers, or other security systems.” Does this objective imply
turning off the security system? Here is my
breakdown: First, even though it didn’t say so directly, it seemed explicitly
necessary following the wording. How can you reactivate something without deactivating it first? Second, Supreme
rule #8 is mainly there to prevent systems that observe you, the way a human
AI does, from being incapacitated, much the same way a knockout blow would.
Normally this means security cameras, or watchers. Third, I had a feeling the
security system was an integral part of the mission’s story; it would be a
shame to bust simply by following the author’s intended and inevitable route,
especially given my first two arguments. Two optional objectives
were also given up front: steal the museum inspector’s security report, and
avoid triggering any alarms. Recently discussed at Eidos’ Thief Forum,
optional objectives provided in the loadout screen are not required for plain Ghost, only for Supreme.
Contrastly, hidden bonus objectives discovered throughout the mission are not
required for either mode. With all that in mind, I was ready to take on the
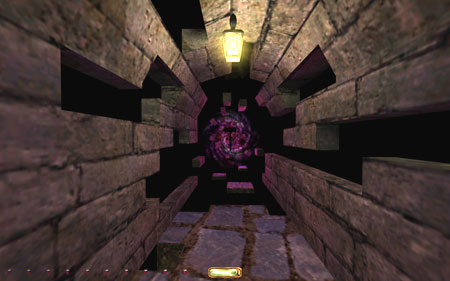
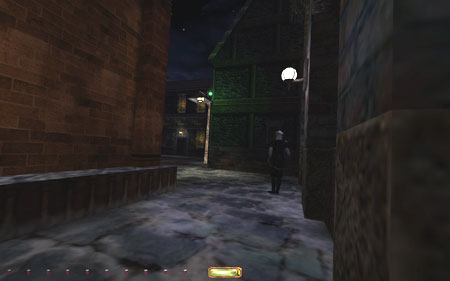
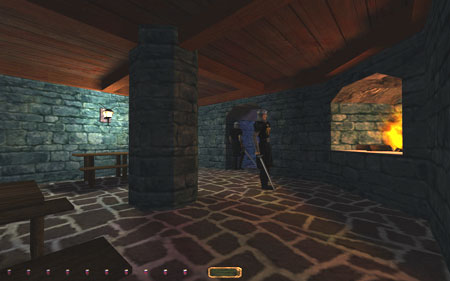
world...ahem... Arkford. Early Roamings After some initial visions
(left image above), things went back to normalcy. Having already done a
blackjack run, I was familiar with loot locations and other necessary
pickups. I had a pretty good idea of what route to take through the city. The
northwest region was scattered with smaller establishments. Most of the
street guards had long patrols and the shadows were plentiful. Civilians
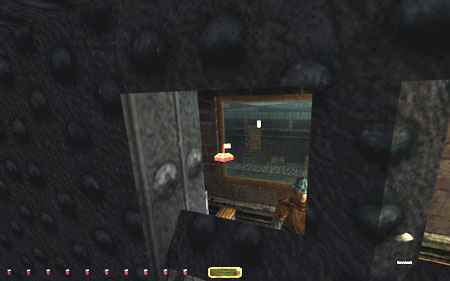
didn’t alert, but they still made me jump on occasion. A hidden purse was
located inside an open window in the far west (right image above). Why
anybody would want to leave windows open on a night like this is beyond me. I
couldn’t enter the building, but the loot was snaggable from outside. A
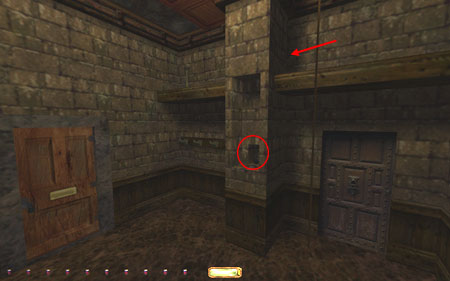
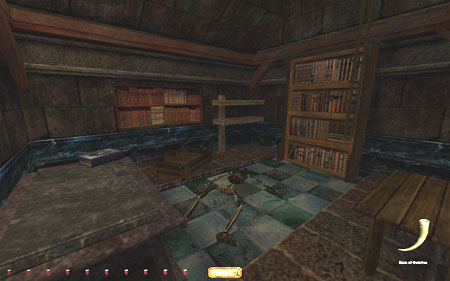
convenient set of icy ledges enabled me to reach it fairly easy. A couple of tricky secrets
were found furter east. One behind a pillar in a mechanist office (left image
below); the other on the statue of St. Bernard close to Sheila’s house (right
image below). Both revealed nearby loot. The latter required a high rope arrow,
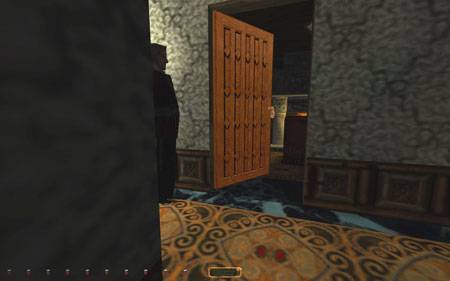
but it was retrievable without taking damage. Miss Jennings was decapitated,
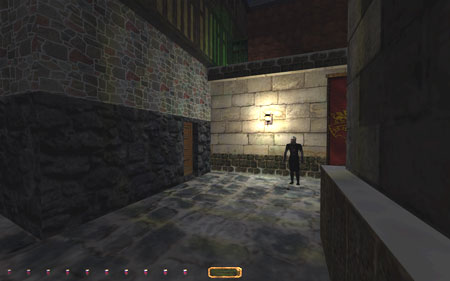
but I found the museum backdoor key under her desk. Next door to Sheila was
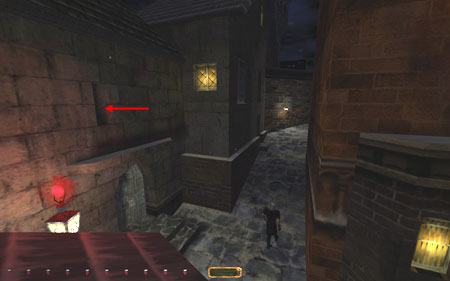
the entrance to the museum courtyard. It was blocked by a stationary archer
though (left image below), so I had to circle the museum and approach from
the east. This gave me an excuse to roam the northeastern parts of the city.
I had some more items to pick up before heading for the museum anyway. Found a single coin on a
ledge across the canal at Mill Square. Had to mantle by way of the water
wheel to reach it. This was near Stone Avenue, a tight set of alleys with a
single patrolling guard. A control room here granted access to the sewer
maintenance room, where I found the precious manhole key. It stuck to my
inventory, so no way to return it later. Several establishments in
this area were unaccessible until getting Yarwick’s skeleton key. A single apartment
northwest of Verain Plaza was available though. The owner inside had a simple
route between the living room and his office, stopping for about 30 seconds
at each location. I needed objects from both rooms. The hallway was marbled,
with a runner down the middle. The office was carpeted as well. If it hadn’t
been for a small dark patch near the coat rack (right image above), this
house might have been unghostable. I waited for him to enter the living room,
then rushed out to pick the lock on the office safe. I got it halfway, but
then had to return to my hiding spot before the owner returned. To save time,
I leaped from one rug to the next through the doorway. During the second
round I had time to finish picking the lock and steal all the office loot. I
also stole the bellows from next to the fireplace while the gentleman was
away. Getting Down to
Business Next up was the Bathing
Burrick Inn. My target was the security inspector upstairs, whose room was
well-guarded. The only way to enter his den was by cranking up the radiator,
making the guard leave for the bar. The steam valve was in the cellar, which
meant I needed the key from the innkeeper. Neither him nor the guests reacted
to my presence, but all civilians alert when getting their pockets picked, if they have spotted you first. Coming
from the basement would circumvent this. The basement entrance was heavily
guarded by an archer and several patrolling swordsmen (left image below), but
nothing that’d keep a taffer like me away. After turning the valve I returned
the key and entered the second floor by way of the open window on the north
side. It was accessible from the wall separating the museum’s eastern and
western side. A total of five enemies were located in the near vicinity, but
traversing the wall kept me dark for the majority of the stretch. The
inspector’s guard left his post as I ascended the staircase and I could
concentrate on my real target. The inspector did a double-loop before
stopping by the bed staring in the direction of the desk (right image below).
He stayed there for about 10 seconds, then resumed his patrol. More often
than not he didn’t alert to the door opening. There were two items of
interest: the security report and a vase on the side dresser. The only time
to enter his room without spawning a grumble was when he turned around and
headed back towards the bed. For about 3-4 seconds the room was “available”.
Both items were attainable by taking two steps into the doorway and leaning
towards the dresser and the desk, respectively. The report was the hardest to
retrieve, as it was a little further away and the inspector occasionally
heard me stepping on the wooden floor. I closed the door and left, entirely
alert-free. Nothing further to report
until reaching Hewitt & Sons Transports. It was located in a blocked off
alley accessible by way of the sewers. I needed a key from the upper office
to operate the wood chipper machine. It was placed on a bookshelf on the back
wall. The traditional means of entry involved knocking out the guard by
smacking him in the back of the head with a window, obviously against Ghosting
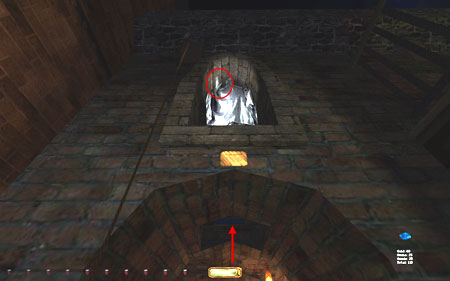
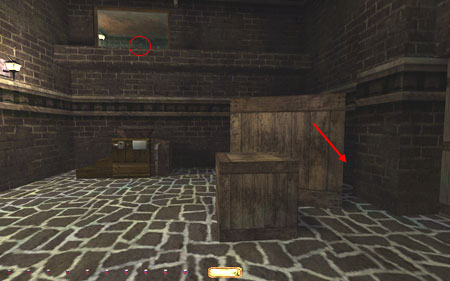
rules. The alternate way in was through a metal ventilation shaft behind one
of the larger crates (left image below). I could inch up the shaft and steal
the key through the grate. I was real worried about being able to replace it
for Supreme though, as the guard was only a few feet away. I tried a variety
of angled leaning techniques, before finally stumbling upon what seemed to
make the key float in mid-air (right image below). Somehow the book stack’s
physical space seemed to extend above its apparent height. This was the
closest and most logical place to put it, and the only spot where the guard
didn’t alert. It was impossible under any circumstance to put the key back to
its exact location. Another tough
challenge passed with flying colors! I had to pass a couple of
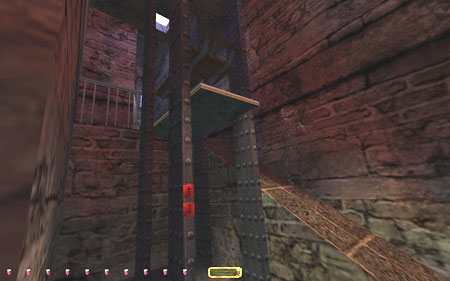
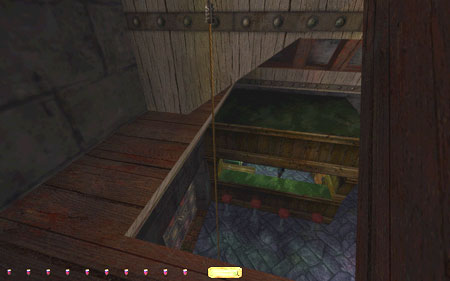
smaller tests to continue through the sewers. Propped a grate open with a
boulder at one point; returned the boulder afterwards. Would later have to
return to put the grates to their original configuration. The part where I
had to fill the compartment with water to reach the upper passage couldn’t be
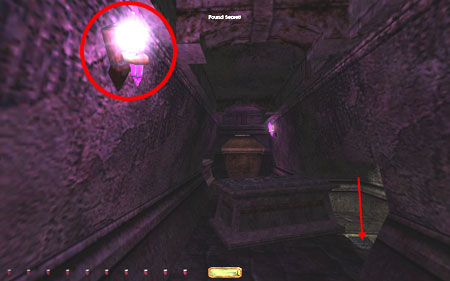
undone, and the lower access door was permanently shut. Found a nifty secret among
the catacomb sarcophagi. One of the light fixtures was frobbable, revealing
the Tomb of the Nameless Riddler (left image below). It contained various
puzzles, rewarding me with the Staff of Far Reach, probably my favorite
addition of this campaign. It could flip any switch from a distance. The shot
had a straight trajectory as well, which was nice. Unfortunately, the shot
would alert anyone in the near vicinity to hunt mode. Back through the
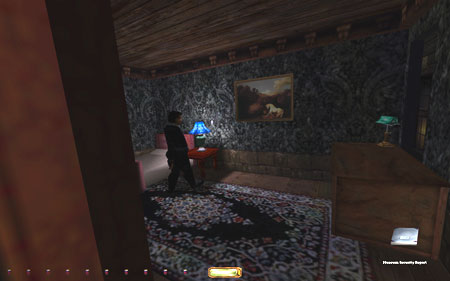
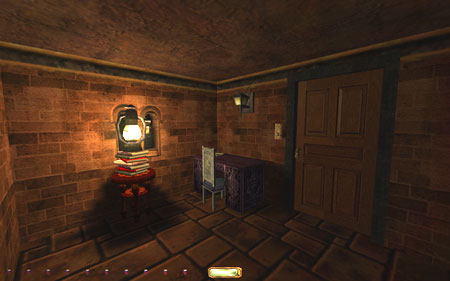
catacombs I emerged in the museum cemetery. The Museum, First
Time Around I headed straight for
Sheila’s office. Knew I’d have to come back later with the skeleton key, so I’d
loot everything else then. As a part of signaling Ned, I needed to switch off
the electric light (right image above). Strictly speaking, this is a Supreme
bust. Rule #6 says: “Turning off electric lights, snuffing candles, or
removing any light source including mushrooms is [...] not allowed.” However,
the rule is obviously meant to disallow the removal of light sources that
prevent movement through enemy territory. In this case, it was done as a part
of a puzzle. No consumables were used, the lights were put back to their
original state, no enemies were around at any point during the event, and no
traces were left of any kind. Rules aren’t made for the rules’ sake, they all
create a purposeful limitation, and I don’t feel this situation breaks
anything the rules were meant to prevent. But I don’t want to make it seem
like I’m excusing my way out of a bust. I am an honest player and want to
report my thoughts on it; hopefully it can spawn some replies from other
players. I could now make my way
through the city watch station. The tricky spot was getting down the end
hallway to the cells. I had Ned plus two other guards to deal with (left
image below); a pivoting stationary guard by the fireplace and a patroller
covering the entire stretch from the break room to the end of the cells.
There was a small spot behind the pillar where I could get ready. I had to
wait for the patroller to come around, then follow him down the tunnel. I hid
in one of the cells as he returned. The secret exit was easy to find, based
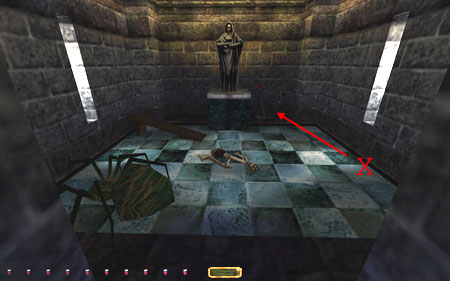
on Ned’s description in his readable. Only one problem in the
catacombs, in a room with a randomly patrolling green spider. The exit was
controlled by a big lever in the corner past the spider. The room was more or
less dark, except for shiny windows on either side. I found I could reach the
lever without ever passing the window, simply leaning in from close to the
wall and frob it like that (right image above). It depended on the spider
staying away from that side of the room long enough for me to do my deed. Not
too big of a deal in the end. The Elusive
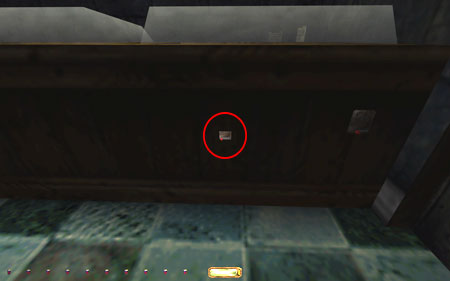
Skeleton Key Cleaned Yarwick’s and
Alarius’ with ease. There was a nifty switch on the back of the counter at
the jeweler’s. Not the one that opened the glass cover, but a smaller switch
in a tiny alcove very close by (left image below). It opened a hidden cellar
with loot. I actually made my way back through the catacombs and the city
watch station afterwards. That way I could close all the gates, panels and
doors for Supreme. On my way back to the
museum I also put the sewer grates back to the original configuration. One
section got filled with water earlier and there was no way to empty it.
Nothing to report from Boleston’s tower either. I knew the code for the punch
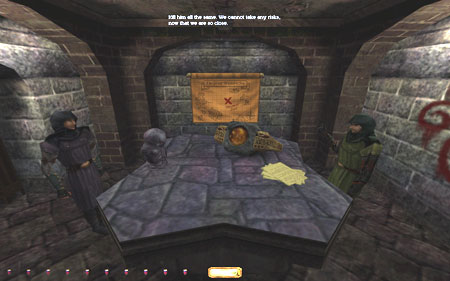
card machine, so I now had access to all parts of the museum. The most difficult area in the museum was
the main lobby by far. Two patrolling guards and a roaming civilian made
sneaking tough. In addition, one piece of loot was located inside a locked
safe in the reception. Luckily, I found a dark spot outside the counter,
within reach of my lockpicks (right image above). The patrolling woman went
by unbothered most of the time. It didn’t seem like there was much shade, but
it kept me completely dark for the duration of my picking. When leaning I
sometimes shifted position into the light, and the dark spot was hard to
regain. It was a grueling couple of minutes, but I got away with Supreme
intact. The rest of the museum
compound was fairly straightforward. The main gallery was only occupied by a
single female patroller covering both floors. No problem to steal the objects
while she was elsewhere. She had a small pitstop by the downstairs control
room, enough for me to blow the horn with the bellows and grab the Solar Core
without anybody noticing. A good example of Eshaktaar’s consideration for the
Ghost mode. I fiddled some with the order of reactivating the red and blue
security measures, but got there in the end. There was a single coin on the
carpet in the upper west wing. It was under one of the couches, so kinda hard
to spot. Nothing else to report really. The Tables are
Turning Headed for my apartment
and got news from Keeper Lennard on this Nyarsal demon. Received information
on the nightshade juice and left for the cathedral. Picked up the chalice
there and headed back for the catacombs. On my way I dropped off the Horn of
Quintus, which actually was a fake, in a hidden workshop across the canal. A
frobbable tile opened a panel accessing an underground stock of horns.
Triggering the mechanism on the altar left me with only the real horn (left
image above), which spawned a new bonus objective. I put together the potion in the catacombs
and drank it in the cathedral. Realized I was played by Lennard and that
Nyarsal now was free to roam wherever. In the visions you actually foreshadow
the location of Tempest Isle, the target for mission two (right image above).
Don’t know how many picked up on that. I ended up in the
crematorium, with further instructions by Keeper Aleph. I had a real hard
time with the ash spirits, not because they were tough to Ghost, but because
I couldn’t distinguish between first alert gasps and idle noises. To be
honest I don’t even know if they had first alerts. I did several tests to
check their response level, but was unable to find any consistent alert
sounds. Does a falling tree make a sound if nobody is around to hear it? I
don’t know, it all depends on how you define ‘sound’ I guess. In the end I
decided to play it safe. If I was even the slightest in doubt of being
detected, I reloaded. The first ash spirit spawned from an urn in
the middle of the first chamber. It took around 10 seconds before he
materialized, so I had some time to pick the lock on the next door before
he’d start to patrol. He heard the lockpics unless he was close to the
opposite end, so I kept my tools still for a few moments before resuming. The next tricky spot came
further down the hallway. The third spirit was the only stationary one, by
the foot of a ramp close to a gurney lift (left image above). I could stay
dark most of the way but rounding that corner exposed me too much. If I went
slow he’d start hunting; if I rushed into the corner by the lift he gave a
clear gasp every time. I figured this as a clear alert, so I needed to think
of something else. Supreme was only holding up like a house of cards from
before, so this was no good. My only chance was to reach the upper walkway by
means of mantling. I had noticed earlier the door in the southwest guard
station was possible to mantle. I used it to reach the loot on the upper
ledges. Once I realized the crematorium doors were no different, I saw my
opportunity. I could mantle the metal door by the first ash spirit as shown
in the right image above. Leaping for the walkway I had to jump and shut the
door simultaneously (required for Supreme). Looking down, running forward,
frobbing the door and jumping at the same time, ensuring no enemies were
around to hear the door slam, and finally mantling the edge. I gotta say this
was one of the toughest set of moves I’ve ever had to put together. But it
also felt greatly rewarding once I got out of it clean. Every rose has its
thorn I guess. Sweeping the
Remains The city streets were
deader than a doornail, Nyarsal had made sure of that. This meant a lot of
the tough spots from before would have been a walk in part had I waited. Ah
well, you live and learn. Anyway, I was free to pick up some remaining pieces
of loot and return some of the stuff I didn’t need anymore for Supreme: the bellows,
the museum backdoor key and the skeleton key. The hammer quarters key left by
Keeper Aleph also needed to be returned to the crematorium. I could drop it
from the walkway above when the spirits were absent. When dropping objects
from higher ground, it seems you need to look down to lower the impact. If I
looked straight, the key would make an extra clunk when landing and alert the
stationary spirit nearby. If leaning and looking down the key made a single,
light clunk and the spirit was left unbothered. Returned to the surface
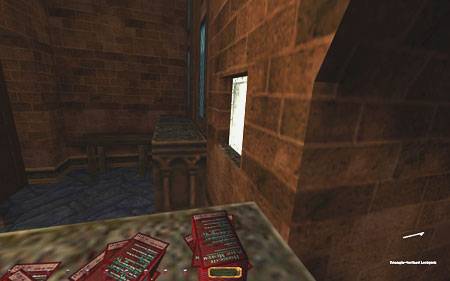
afterwards. The last object to replace was the white cathedral key. I was pleasantly surprised
to see a fair portion of the casino loot was actually obtainable for Supreme.
Initially I had thought about skipping the entire building for that mode, but
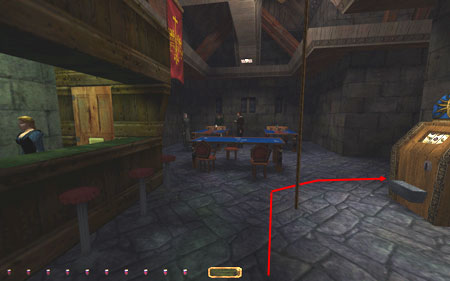
luckily I gave it a shot. I descended by attaching a rope to the wooden beam close
to the circling ledge in the northeast corner (left image above). The
reception lady was my main concern for reaching the floor. She gave me no
trouble as I swung close to the dark eastern wall (where the doors were).
From here I could get the stack of dollars from the reception table and the coin
pile from the closest slot machine. To traverse the room as shown in the red
path above, the girl had to be facing east. She shifted randomly between east
and north angles, and the length of time she spent in each direction varied.
I could crouch-walk through the entire move and with a little luck she wouldn’t
turn north until I was safe. The gamblers were too far away to alert. The
other slot machine and the coin behind the craps table were now reachable.
The single coin could be taken from the south side in the corner. That was it
for Supreme, so I left with what I had, 1850 in total. Believe me, when playing
Supreme, switching to plain Ghost many times becomes nothing of a challenge.
I am not trying to slap those devoted to regular ghosting. Plenty of times I
have had to revert to that mode and gotten my ass kicked, but as for the
casino, the rest of the loot was fairly simple. I could basically sneak
wherever there were some amounts of shade and steal the remaining four piece
of loot. The ring in Mrs.
Wigglesworth’s apartment south of Boleston’s tower was my final target.
Opening the door made her grumble, so I had to say no to this loot for
Supreme. I got more comments when entering the room, so I didn’t think twice
about skipping it. Made my way to the museum afterwards and entered the portal.
Fantastic mission
Eshaktaar! J Statistics: Time: 3:23:53 Loot: 2010 out of 2010
(Supreme: 1850) Pickpockets: 3 out of 4 Secrets: 7 out of 8 Locks Picked: 25 Damage Dealt: 0 Damage Taken:
0 Bodies Discovered by
Enemies: 2 Consumables: None Ghost: Success! Perfect Thief: Success! Supreme Ghost: Debatable,
but I say success! Perfect Supreme Ghost: Failed! Notes: -
I had to switch off the electric
lights in Sheila Jenning’s office in the museum in order to signal Ned and
gain access to the city watch station. Techinnically this is against Supreme
rules, but I doubt this is a situation rule #6 was meant for. I switched the
lights back on before any guards came around and left no possible traces
behind. This situation is up for debate, but my vote is ‘no bust’. -
Turning off the museum’s security
system is allowed in my mind for two reasons. 1) Its requirement is heavily
implied in the objective that directs you to “reactivate the security measures”.
2) Supreme rule #8 was made with watchers, or other systems that alert and
behave similar to live enemies, in mind. Discussion on this topic is
encouraged. -
Had to skip four pieces of loot
in the casino for Supreme: the coins in the safe (100), the purse on the
female gambler (25), and the two single coins on the gambling table (10). -
Also had to skip the ring (25) in
Mrs. Wigglesworth’s apartment south of Boleston’s tower for Supreme. She
alerted with a comment when opening her door. |