|
The Seven Sisters - Night Three A highly underrated finale to one of the best
campaigns ever made for Thief. What heat Lady Rowena received for reusing the
same city in the first two missions, she makes up for with this creative gem.
If you don’t remember this one as fondly, try it again, it’s worth it. I had
a blast replaying it 15 years post release. The new enemies are stellar and
the atmosphere dripping with excellence. Thank you Adriana. You are missed,
but not forgotten. Started with 1 water
arrow and 1 rope arrow. Nobody to cure, only the last two sisters to
neutralize, plus loot (and the optional objective revealed later). I was also
instructed to somehow kill the black sister. Hoped for a successful Supreme
going in, but having busted the first two, I knew these missions weren’t
designed with that mode in mind. Thieves’ Hideout The courtyard had two
thieves. Nothing big, just normal stealth work. The rope ladder was dark.
Cleaned the mill right away, not much to report there either. Did the
upstairs bedrooms next. The stationary thief was very edgy, easily alerting
to creaks in the wooden stairs. There were no shadows in the upstairs hallway
itself, so I had to enter the side rooms for cover. There was a pickable chest in the first bedroom on the right. The
wary thief heard the noises, so I had to close the door. The gate key was
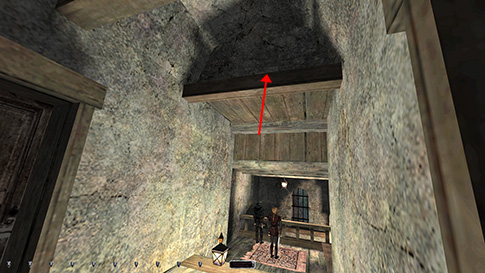
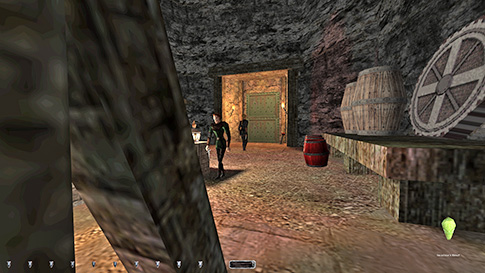
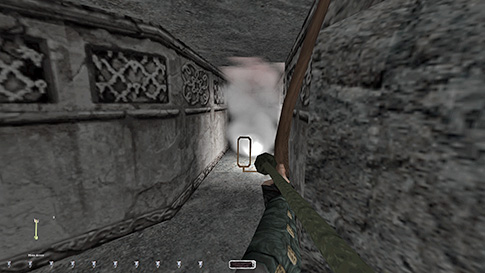
stuck to my inventory. Took the secret bag of spice by use of a rope arrow
when the patroller had her stop (left image below). The rest was straight
forward.
Downstairs was a little
trickier, but still doable. The biggest problem was dodging Rodrigo. He
alerted to his door opening or closing, so I had to follow him and let him
operate it. The female thief also overlooked the door at one point. Rodrigo
came to a halt just inside the door. I could pick the chest while he was
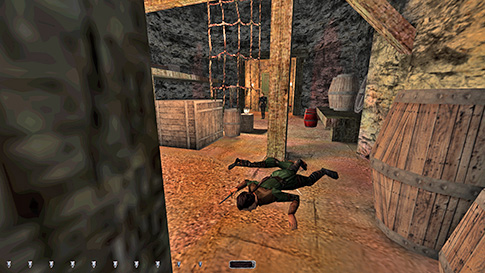
gone. The wine cask’s key disappeared upon use. Dodged Rodrigo the same way
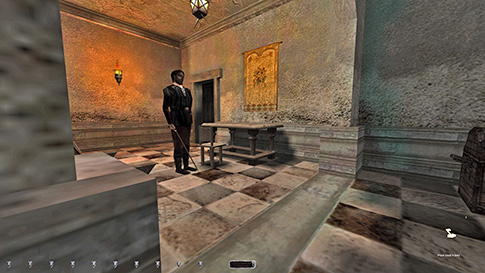
out again, waiting in the small dark nook for him to leave (right image
above). Had to guess when grabbing the fine wine from the open crate in the
hall. Sometimes I picked up a worthless bottle instead, so I just reloaded. Think
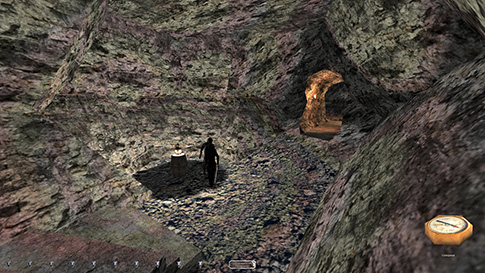
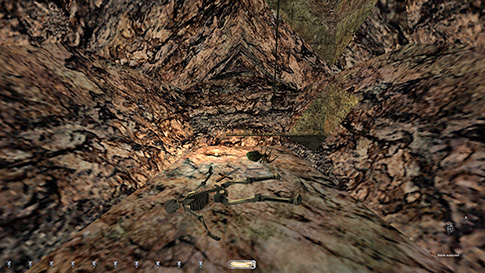
the fine bottle was the backmost one. Entered the caves using the grey key. The first cavern was easy
to traverse, just used the cave slopes to the right (left image below). The
cliff cave with the bridge was harder. The female archer looked north and
south. The patrolling thief crossed the bridge and stopped at both ends of
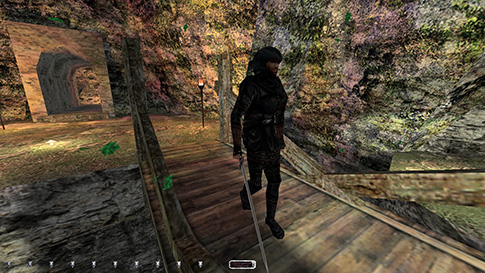
his route. I found a dark portion on the bridge itself, by the north railing.
With a little luck, I could reach it by creep-crouch-strafing. The thief
would alert with a comment going by, so I had to get onto the outer rim of
the railing itself (right image below). Now he kept quiet. To get to the
secret treasure cache, I waited for the thief to head west again, then
mantled the rock and leapt across the gap. The path’s steepness gave me
trouble, as it was very hard to maintain a steady pace. The area up to the
shrubbery was visible from the male thief’s stationary position east of the
bridge, so I had to pass that portion before he returned. The middle part
wasn’t covered by either of the thieves. The lower section was in the visible
range of the archer, thus I had to wait for her to turn south. The cave
entrance was dark and the gold was mine. Going back uphill was quite a bit
easier.
The inner cave had only
one pickup: Serafina’s heart. However, her patrol
was in the middle of the room, in bright lights. The other thief luckily
turned away from time to time. The two support pillars to the south blocked
the light from the chandelier, and their shadows got me a little closer to Serafina. I tried lurking in behind her to grab the heart
as she turned, but couldn’t make it without a grumble. Even the hay on the
floor was too loud for her. It was almost by accident I discovered the small
shadow beside the northeastern pillar. It wasn’t as dark as the others, but
dark enough to snag the heart as Serafina passed
(left image below). She gave a comment at the end of her patrol even though I
was pitch black, so I had to lean right (north) each time she came around, to
make the pillar block her view. Although it technically isn’t a bust, the
stationary thief gave a comment from seeing Serafina’s
corpse. I managed to get rid of this by making her fall behind the pillar
(right image below). This was not required by any mode, but fun to accomplish
nonetheless.
I used exactly the same
methods to return to the starting pool. Pagan The burrick
caves had a few glowing mushrooms, but nothing dangerous. Took my time and
collected all the nuggets. Alerts are a little hard to determine from burricks, so I always reload rather than being in doubt. The following cave was a
smidgen harder, but again nothing to worry about. There were plenty of tree
trunks to hide behind, and enough shadows. Only a few torched areas where I
had to watch out. Climbed the northwestern walkway with a rope arrow and
cleaned the inside huts. The outside patrollers could hear me clunk my boots
getting off the rope arrows, so I treaded lightly. The inner pagan cave
caused only a few problems. The loot was easily accessible, only dodging the
stationary tree-beast. I approached the eastern doorway from the shadows to
the left. The pagans didn’t alert too much, but the patrolling tree-beast was
quite wary and ended up being my greatest concern. It patrolled north-south
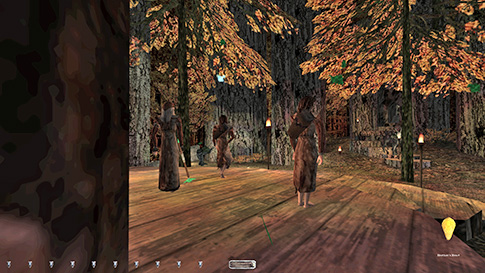
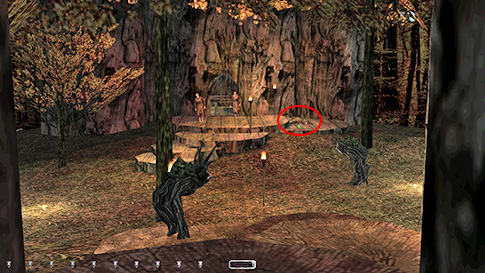
and gave a distinct growl as a first alert. Both Heather and the patrolling
archer stopped occasionally, always facing away from the doorway. I waited
just inside the hut, by the left hand side. When the moment presented itself,
I lurked out and snagged her heart (left image below). The stone key was
totally unprotected. Snuck out again when I had the chance. I waited to
destroy her heart until I had passed the second treebeast.
If she landed on the plateau to the south, the patrolling archer went to hunt
mode for a bit and the treebeast gave a growl. That
was it. Nobody alerted to me and it was a direct consequence of a mandatory
objective, so no bust.
Getting to the portal was
no problem. The floating spirit lit me up, but apparently couldn’t see. At
least I stood in its view as it passed, but nothing happened. The ghosts
alerted with a loud breath, similar to haunts. They were trigger happy and
illuminated a small radius around their bodies, but were very slow and had
predictable routes. Grabbed the final pieces of loot and unlocked the portal
with my keys. Stuck to the dark corners
in the mermaid cave. Entered through the small tunnel to the left and
circulated the cave northward. I couldn’t make out first alerts forany of the creatures in here. Maybe they don’t have
any, or perhaps their sensitivity is configured differently. Nevertheless, I
could grab the black diamond without any commotion. I knew all of them could
be taken for Supreme, otherwise I would’ve skipped them, since optional
objectives are required for that mode. Shooting the whirlwinds
is now allowed for Supreme due to clarification of the rules (left image
below). Last time I ghosted this mission, I deemed it a bust, but not
anymore. No damage or kills showed up in the stats. No traces were left except
the moss. The whirlwinds were not enemies, as they never alerted or attacked.
They functioned more like moving traps, killing me on impact. The stone keys
were imperative to continue the mission and obviously an intended part of a
puzzle.
The bush-beasts didn’t
have any first alerts either, at least not that I could detect. In any case,
I ghosted them quite easily. Traversed this mossy cave northward along the
walls, grabbing the black diamond on the way. The two other tunnel exits both
lead to the same place, but the northern one had the next stone key. I
backtracked and took the southern tunnel to continue; if not, I went against
the flow of crayman and insect-beast traffic. The sulfur cave could be
ghosted without getting involved with any of the smoke shadows. There was a
ledge running below the top cliff that I could drop onto. From there, I
ascended the slope and leaped down to the secret cave with the next black
diamond (right image above). That made four. Exiting this cave I emerged in
the catacombs. Reaching Malvina’s lair was easy. I opened the gate to the lava
cave first. Then roped up the ledge toward the spider cages. I had to jump
the rafters to reach the grate with the next diamond. The nearby spider saw
me a time or two before I got it. Opening the gates let out all 15 spiders in
full alert. It was not from seeing me, but from a script triggered upon
releasing the spiders. They headed straight for Malvina.
If they saw me along the way, I was as good as dead. I opened only one of the
cages though, as traversing the caves afterwards was harder the more spiders
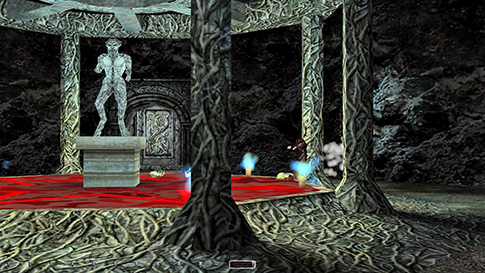
there were. As they attacked Malvina, I closed both
the cage and the gate. Three yellow spiders died in the battle. This kill
follows directly from the objective, and the spiders are the only ones who
can do it (left image below), so definitely no bust. I took the heart off her
corpse afterwards, and headed back through the catacombs.
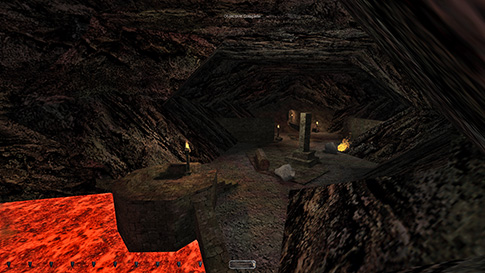
The lava cave was darkest
on the left hand side upon entry. In fact, I could sneak along the wall all
the way to the lava without getting spotted (right image above). The enemies
in here weren’t on high alert in any case. Another black diamond lay in
shadows on the opposite side. I left through the other tunnel and closed both
gates. The portal was now open so I went through. The final black diamond
could be taken without lifting the boulder on top. STATISTICS: Time: 1:40:03 Loot: 4010 out of 4010 Pickpockets: 0 out of 6 Secrets Found: 5 out of 5 Locks Picked: 10 Damage Dealt: 0 Damage Taken: 0 Bodies Discovered by Enemies: 3 Consumables: 3 Moss Arrows Ghost: Success! Perfect Thief: Success! Supreme Thief: Success! Perfect Supreme Thief: Success! Notes: -
One of the archers in the inner pagan cave noticed
Heather’s body and entered search mode. This is no bust, since it is an
immediate consequence of completing a mandatory objective, and nobody saw or
heard me in the process. One of the treebeasts also
gave a growl due to this. -
Had to moss the three whirlwinds in the chaos caves. Due
to clarified ruling, these are no longer counted as Supreme busts. -
The three bodies discovered are Heather, and probably two
of the spiders fighting Malvina. |