|
Death’s Cold Embrace - Act 3, Scene 2: The
Wailing Keep This is a very different mission from the previous
eight, yet a fitting end to a marvelous campaign. Scary as crap on the first playthrough, but once you know the layout, it is actually
quite easy. The beauty lies in exploring the castle ruins and its strange
inhabitants, along with its desolate and eerie surroundings. Perhaps a few
items of loot would’ve been in order, but hey, I’m not complaining. All
I had to do to begin with was find Mathien and
destroy him, then return to the starting camp. Naturally, I’ve played enough
fan missions to know it wasn’t going to be that simple. Knowing
the map quite well prior to ghosting, the route became fairly obvious. First
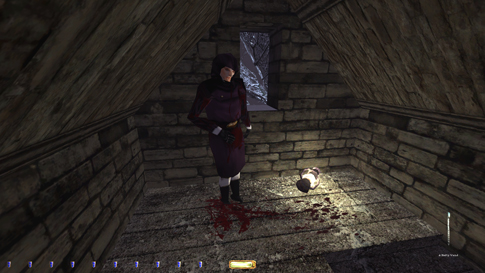
I located Clara on the west side of the keep (left image below). There were
both glow bugs and at least one large glow beast to dodge along the way, but
most of the alcoves along the outer walls were shaded. I then got new
objectives to light the four braziers using the wand. The middle level of the
outer wall was the best method of reaching the tower, I found. The corridors
were all dark, and you could spot the light bugs from far away. Said corridor
was blocked between the northeast and the southeast tower though, so I
started with the former and made my way around the perimeter
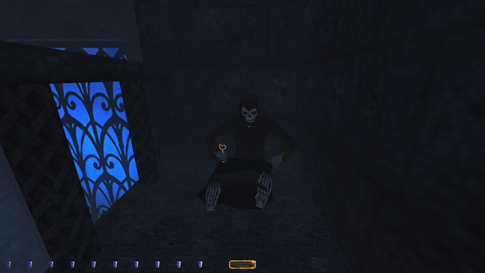
counterclockwise. In the northwest, a fallen tree blocked the pathway going
south from the middle level, so I had to drop from the top walkway instead
(right image below).
After
lighting the final brazier, I could now enter the keep. Had to wait by the
outer gate for all the glowies to leave before
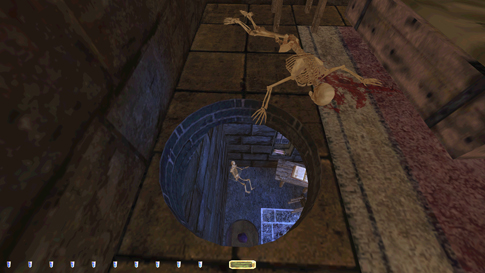
crossing the open terrain towards the raised keep portcullis. Grabbed the
bronze key from the underground temple first (left image below). Received new
objectives there as well. Back
in the keep I could now ascend the eastern tower, which eventually led me to
some sort of alchemic lab. A cryptic parchment gave me another objective to
return to Clara for translation. Problem was, the rope arrow used to reach
the top floor of the lift shaft couldn’t be left behind for Supreme. I thus
had to drop directly onto the second lift level (the button for the top level
was broken). Unfortunately, this drop was too high to avoid taking damage. I
honestly thought this would be the downfall for Supreme, as there wasn’t
anything around to brace the fall. But then, eureka! Checking my inventory, I
had started the mission carrying three healing fruits. Those could easily be
dropped onto the lift creating a small stack, enough to avoid any falling
damage (right image below). Brilliant!
Returned
the bronze key before leaving the keep. I figured that would be a lot easier
now rather than when Mathien was loose. Clara gave
me new instructions to destroy each of the four power sources atop the inner
towers surrounding the keep. No issues there. This unleashed Mathien’s true nature down in the temple, as well as
Julia and Robert’s zombie forms. After reopening the temple doors, the only
thing left to do was destroy the power source behind Mathien’s
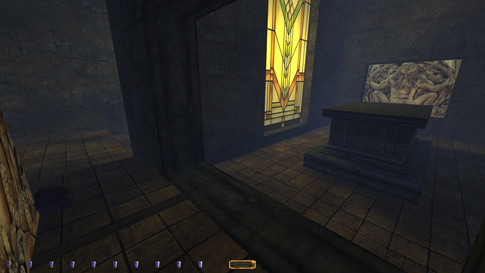
altar. Two switches had to be flipped to reveal access points behind two
murals. The problem for Supreme was these panel could be reclosed, but there
was no way to return to do so once finishing the last objective. The mission
ended before I could get to either switch. Again the fruits saved me. Placing
one at the foot of either panel would prevent it from closing. Then once I
picked it up, the panel would shut automatically. In the picture below you
can see how the farthest panel has closed, while the closest is blocked open
by the fruit. Of course, there was no way to leave afterwards, but who cares?
The mission ended as Mathien met his demise.
Statistics: Time: 55:15 Loot: None Pickpockets: None Secrets: None Locks Picked: None Damage Dealt: 0 Damage Taken: 0 Consumables: None Ghost: Success! Perfect Thief: N/A Supreme Thief: Success! Perfect Supreme Thief: N/A |
|
|